Once the configuration data is filled and the “Connect” button is clicked, the system will validate the connection details. If the connection is successful, the UI will navigate to the Module Selection screen.
Steps After Connection
- Navigate to Module Selection
- After a successful connection, users will be redirected to a UI where they can select the desired module for data import/export.
- Pick a Module
- Users can choose from the available modules based on their requirements.
- Select Fields
- After selecting a module, users can specify which fields should be included in the import/export process.
- Only the selected fields will be processed, ensuring flexibility in data handling.
This ensures a seamless workflow from connection setup to data selection for import/export.
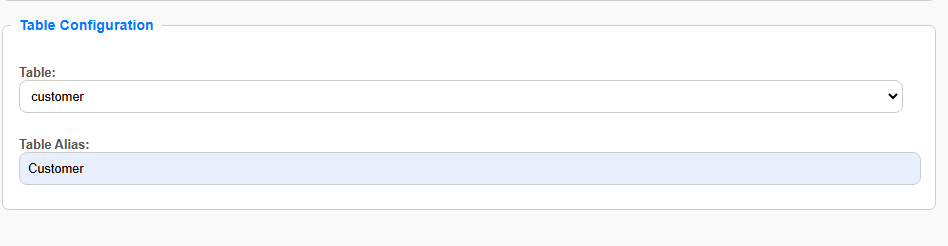
Field Configuration
The field configuration is divided into two parts: Non-Relational Fields and Relational Fields.
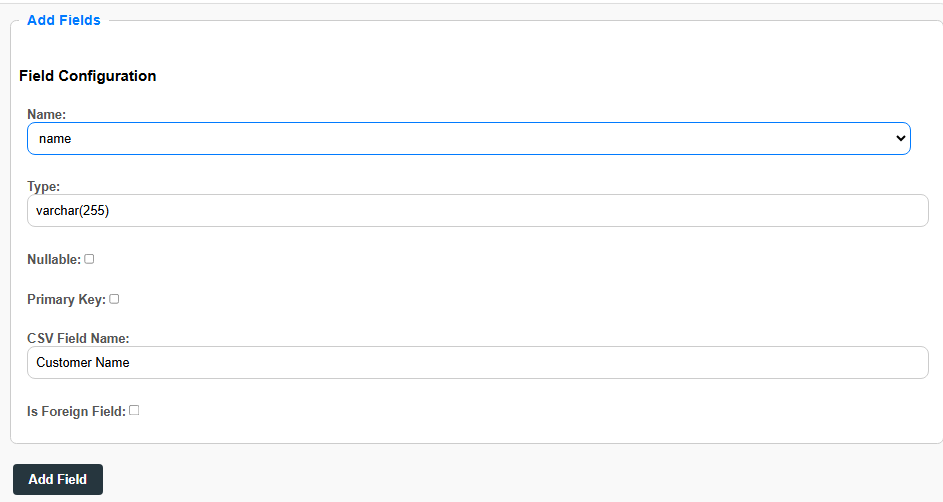
1. Non-Relational Fields
- Users can select a field from a dropdown list.
- Assign an alias name to be used in the CSV template.
- Click “Add to Config” to save the field mapping.
2. Relational Fields
- After selecting a field, tick the “Is Foreign Field” checkbox.
- This action will reveal additional fields that need to be configured:
- Foreign Table – Specify the related table that holds the referenced data.
- Foreign Key Field – Define the field in the foreign table that establishes the relationship.
- Reference Field – Specify which field from the foreign table should be retrieved during import/export.
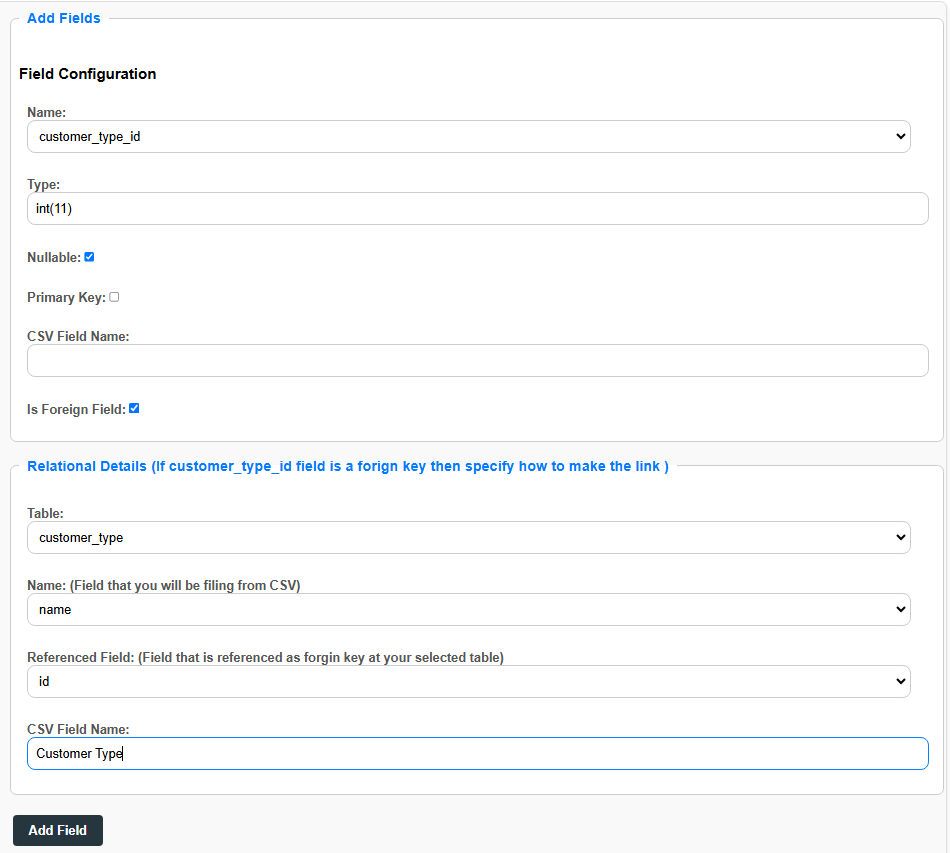
This setup ensures proper handling of both simple and relational data fields in the import/export module.
Setup Fields Available for The Module