
Javascript For Loops
Javascript For Loops in the ECMA Standard Simple For Loop The simplest type of for loop increments a variable as its iteration method. The variable
In our previsour Article we had learnt about the basics of Kafka and How to Install and Kafka Using Docker.
In this article we will be building a simple nodejs application which will be utilizing the above Kafka service by producing and subscribing to messages.
Create a NestJs Application using the following command
Note: if you are new to nest js you can refer to these articles to get your self familier with it. What is NestJs – Introduction, Getting started with Nestjs
				
					nest new kafka-nodejs-app 
				
			
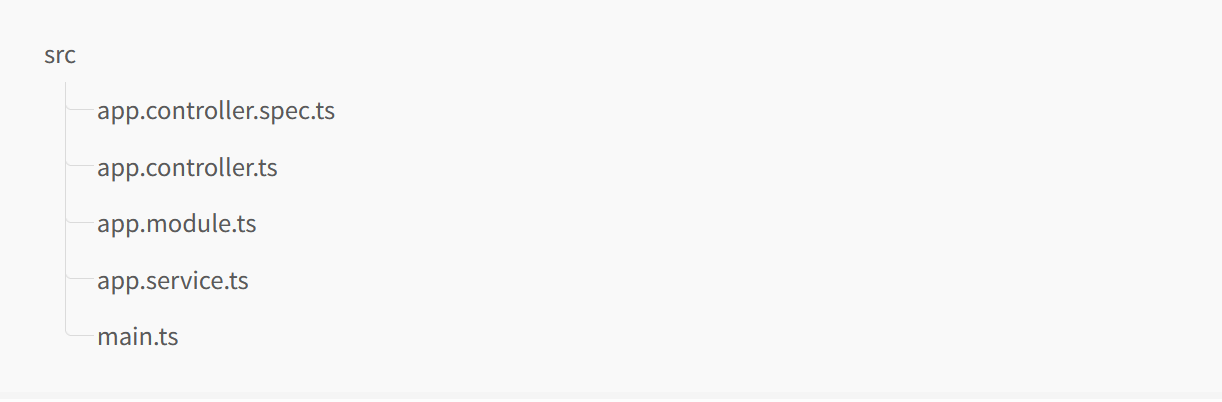
		After initiaing the project you will get to see the following files at your project path

				
					nest g resource modules/kafka-connector 
				
			
		The above command will generate the following set of files in side modules dir

Now lets edit the kafka-connector.service.ts file and insert some codes to connect and consume the Kafka service and before that lets Install Kafkajs npm package
				
					npm install kafkajs 
				
			
		Kafka-connector.service.ts
				
					import { Injectable } from '@nestjs/common';
const { Kafka } = require('kafkajs')// kafka js npm pacakge
const kafka = new Kafka({
     
    brokers: [       
        'localhost:9093'// kafka service port
    ],
    // ssl: true,// if SSL is turned on
    // sasl: {
    //     mechanism: 'SCRAM-SHA-512', // scram-sha-256 or scram-sha-512
    //     username: 'username',
    //     password: 'password'
    // },// if auth is enabled the credentials will be set at this place
});
const producer = kafka.producer();
const consumer = kafka.consumer(
    { groupId: 'kafka-nodejs' }// define your own group id
);
@Injectable()
export class KafkaConnectorService {
  constructor(){
      this.init();  }
/**
 * 
 * init function wich will connect, send a initial message to the topic
 * and initialize the consumer listner
 * */
  async init(){
      await this.connect();
      await this.sendMessage();
      await this.listenToMessages();
  }
/**
 * connect to service
 * */
    async  connect(){
      console.log("connect.....")
        await consumer.connect();//conenct consumer/listneer
        await producer.connect();//conenct producer/emitter
        await consumer.subscribe({ topic: 'heapspace-out-topic', fromBeginning: true });         
        return  true;
    }
/**
 * send sample message to the topic
 * */
    async sendMessage(){
        console.log("sendMessage.....")
        await producer.send({
            topic: 'heapspace-out-topic',
            messages: [
                { value: JSON.stringify({
                        "name": "Sam",
                        "age": "34"
                         
                    }) },
            ],
        })
    }
/**
 * listen to any messages comming on the topic
 * */
    async listenToMessages(){
        console.log("listenToMessages.....")
        await consumer.run({
            eachMessage: async ({ topic, partition, message }) => {
                console.log('new msg');
                console.log(topic);
                console.log({
                    value: message.value.toString(),
                });
                console.log(JSON.parse(message.value))
                //once you get a message from the topic, you can do your own logic 
                //using the message recived
            },
        })
    }
}


		Lets add a simple API end point where we can manualy push and message to the Kafka topic.
				
					import { Controller, Get, Post, Body, Patch, Param, Delete } from '@nestjs/common';
import { KafkaConnectorService } from './kafka-connector.service';
@Controller('kafka-connector')
export class KafkaConnectorController {
  constructor(private readonly kafkaConnectorService: KafkaConnectorService) {}
  @Get('test')
  async testMessage() {
    return await this.kafkaConnectorService.sendMessage();
  }
}


		Now you are all ready.
You can start your nest js application by running
				
					npm run start 
				
			
		And now you can trigger test messages by visiting http://localhost:3000/kafka-connector/test

Javascript For Loops in the ECMA Standard Simple For Loop The simplest type of for loop increments a variable as its iteration method. The variable

Retriving a List of attribute (field) values from a Object List (Array List) List users=new ArrayList<>(); List userIds=users .stream() .map(u->u.getId()) .collect(Collectors.toList()); Filter Objects by Attribute

let message = ‘helloWorld’ let convertedMessage=message.replace(/[A-Z]/g, letter => `_${letter.toLowerCase()}`); console.log(convertedMessage); output -> hello_world How to Convert Camel Case to Snake Case JavaScript

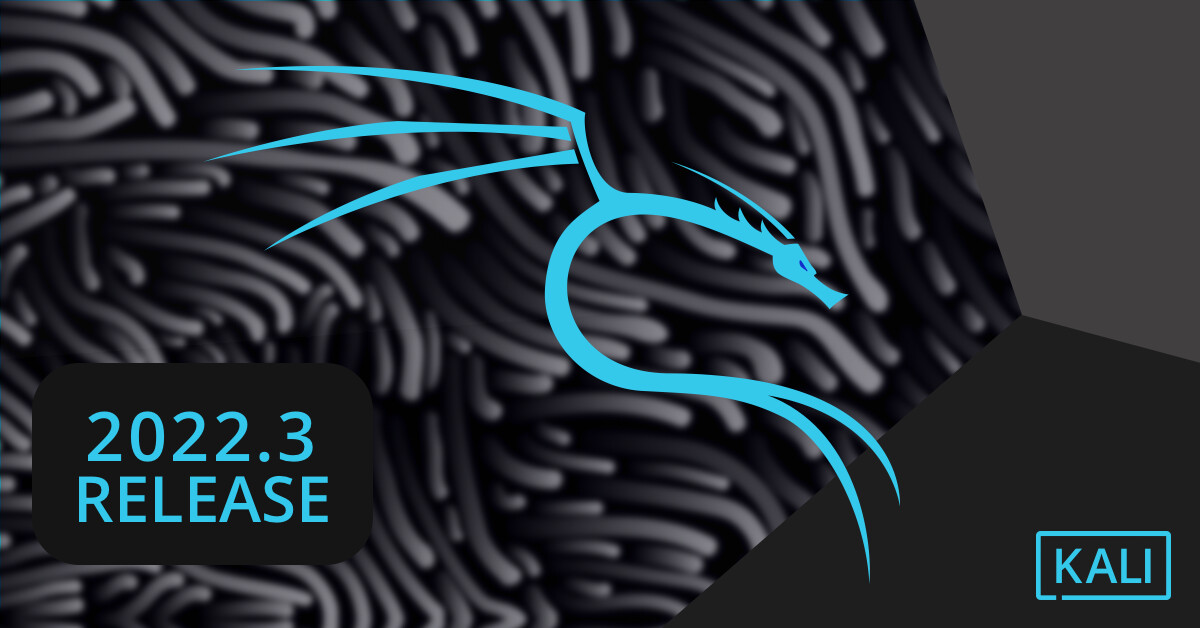
Things to know about the latest Kali release. 1. New Tools Here are all the new tools that come with the release. BruteShark – Network Analysis

In bubble sort ,an array is traversed from first element to last element. Then, current element is compared with the next element. If current element

Using yarn: yarn global add pm2 Using npm npm install pm2 -g Using debian apt update && apt install sudo curl && curl -sL

Login to the database as root user mysql -u root -p Once you have logged in as root user, run the following command to list

This release includes 135 enhancements, documentation improvements, dependency upgrades, and bug fixes. Now, without requiring any particular settings, you can convert your Spring Boot applications

A popular public-key cryptosystem for secure data transfer is RSA (Rivest-Shamir-Adleman). In addition, it is among the oldest. The surnames of Ron Rivest, Adi Shamir,

American Standard Code for Information Interchange is referred to as ASCII. An ASCII code is the numerical representation of a character, such as “a” or

ChatGPT is a language model, which was created and trained by OpenAI . ChatGPT uses a type of neural network called a transformer model. This